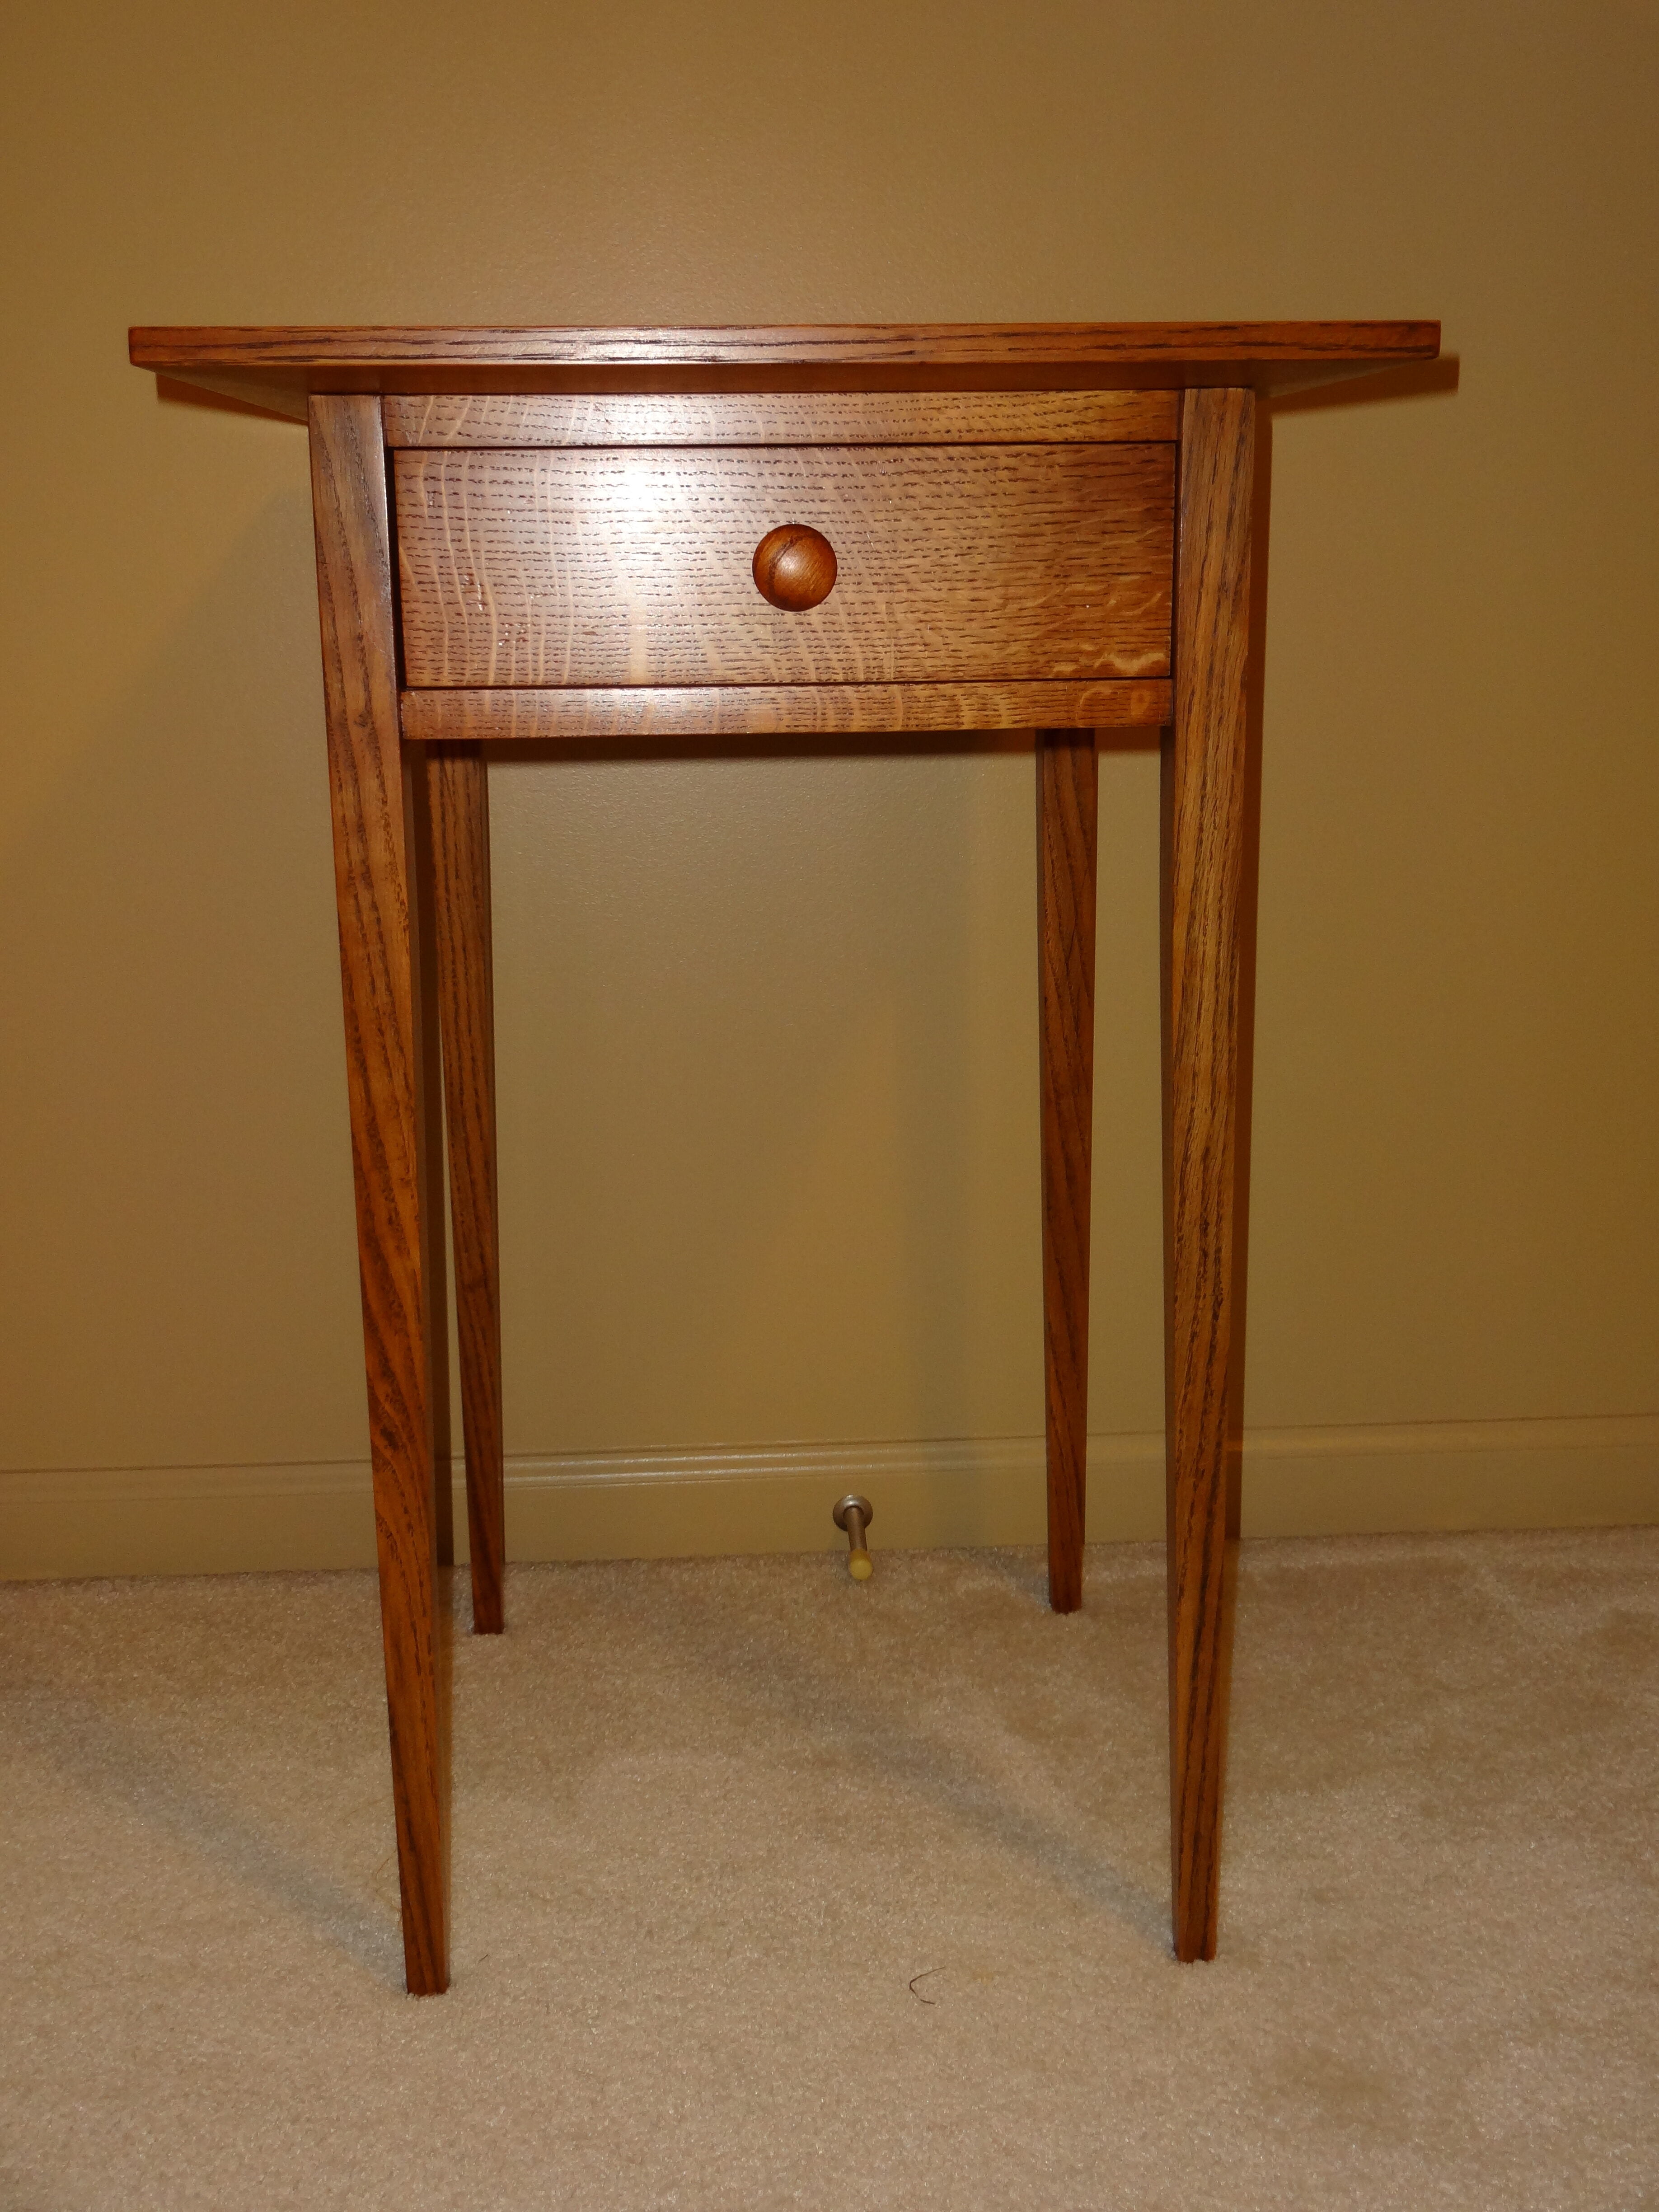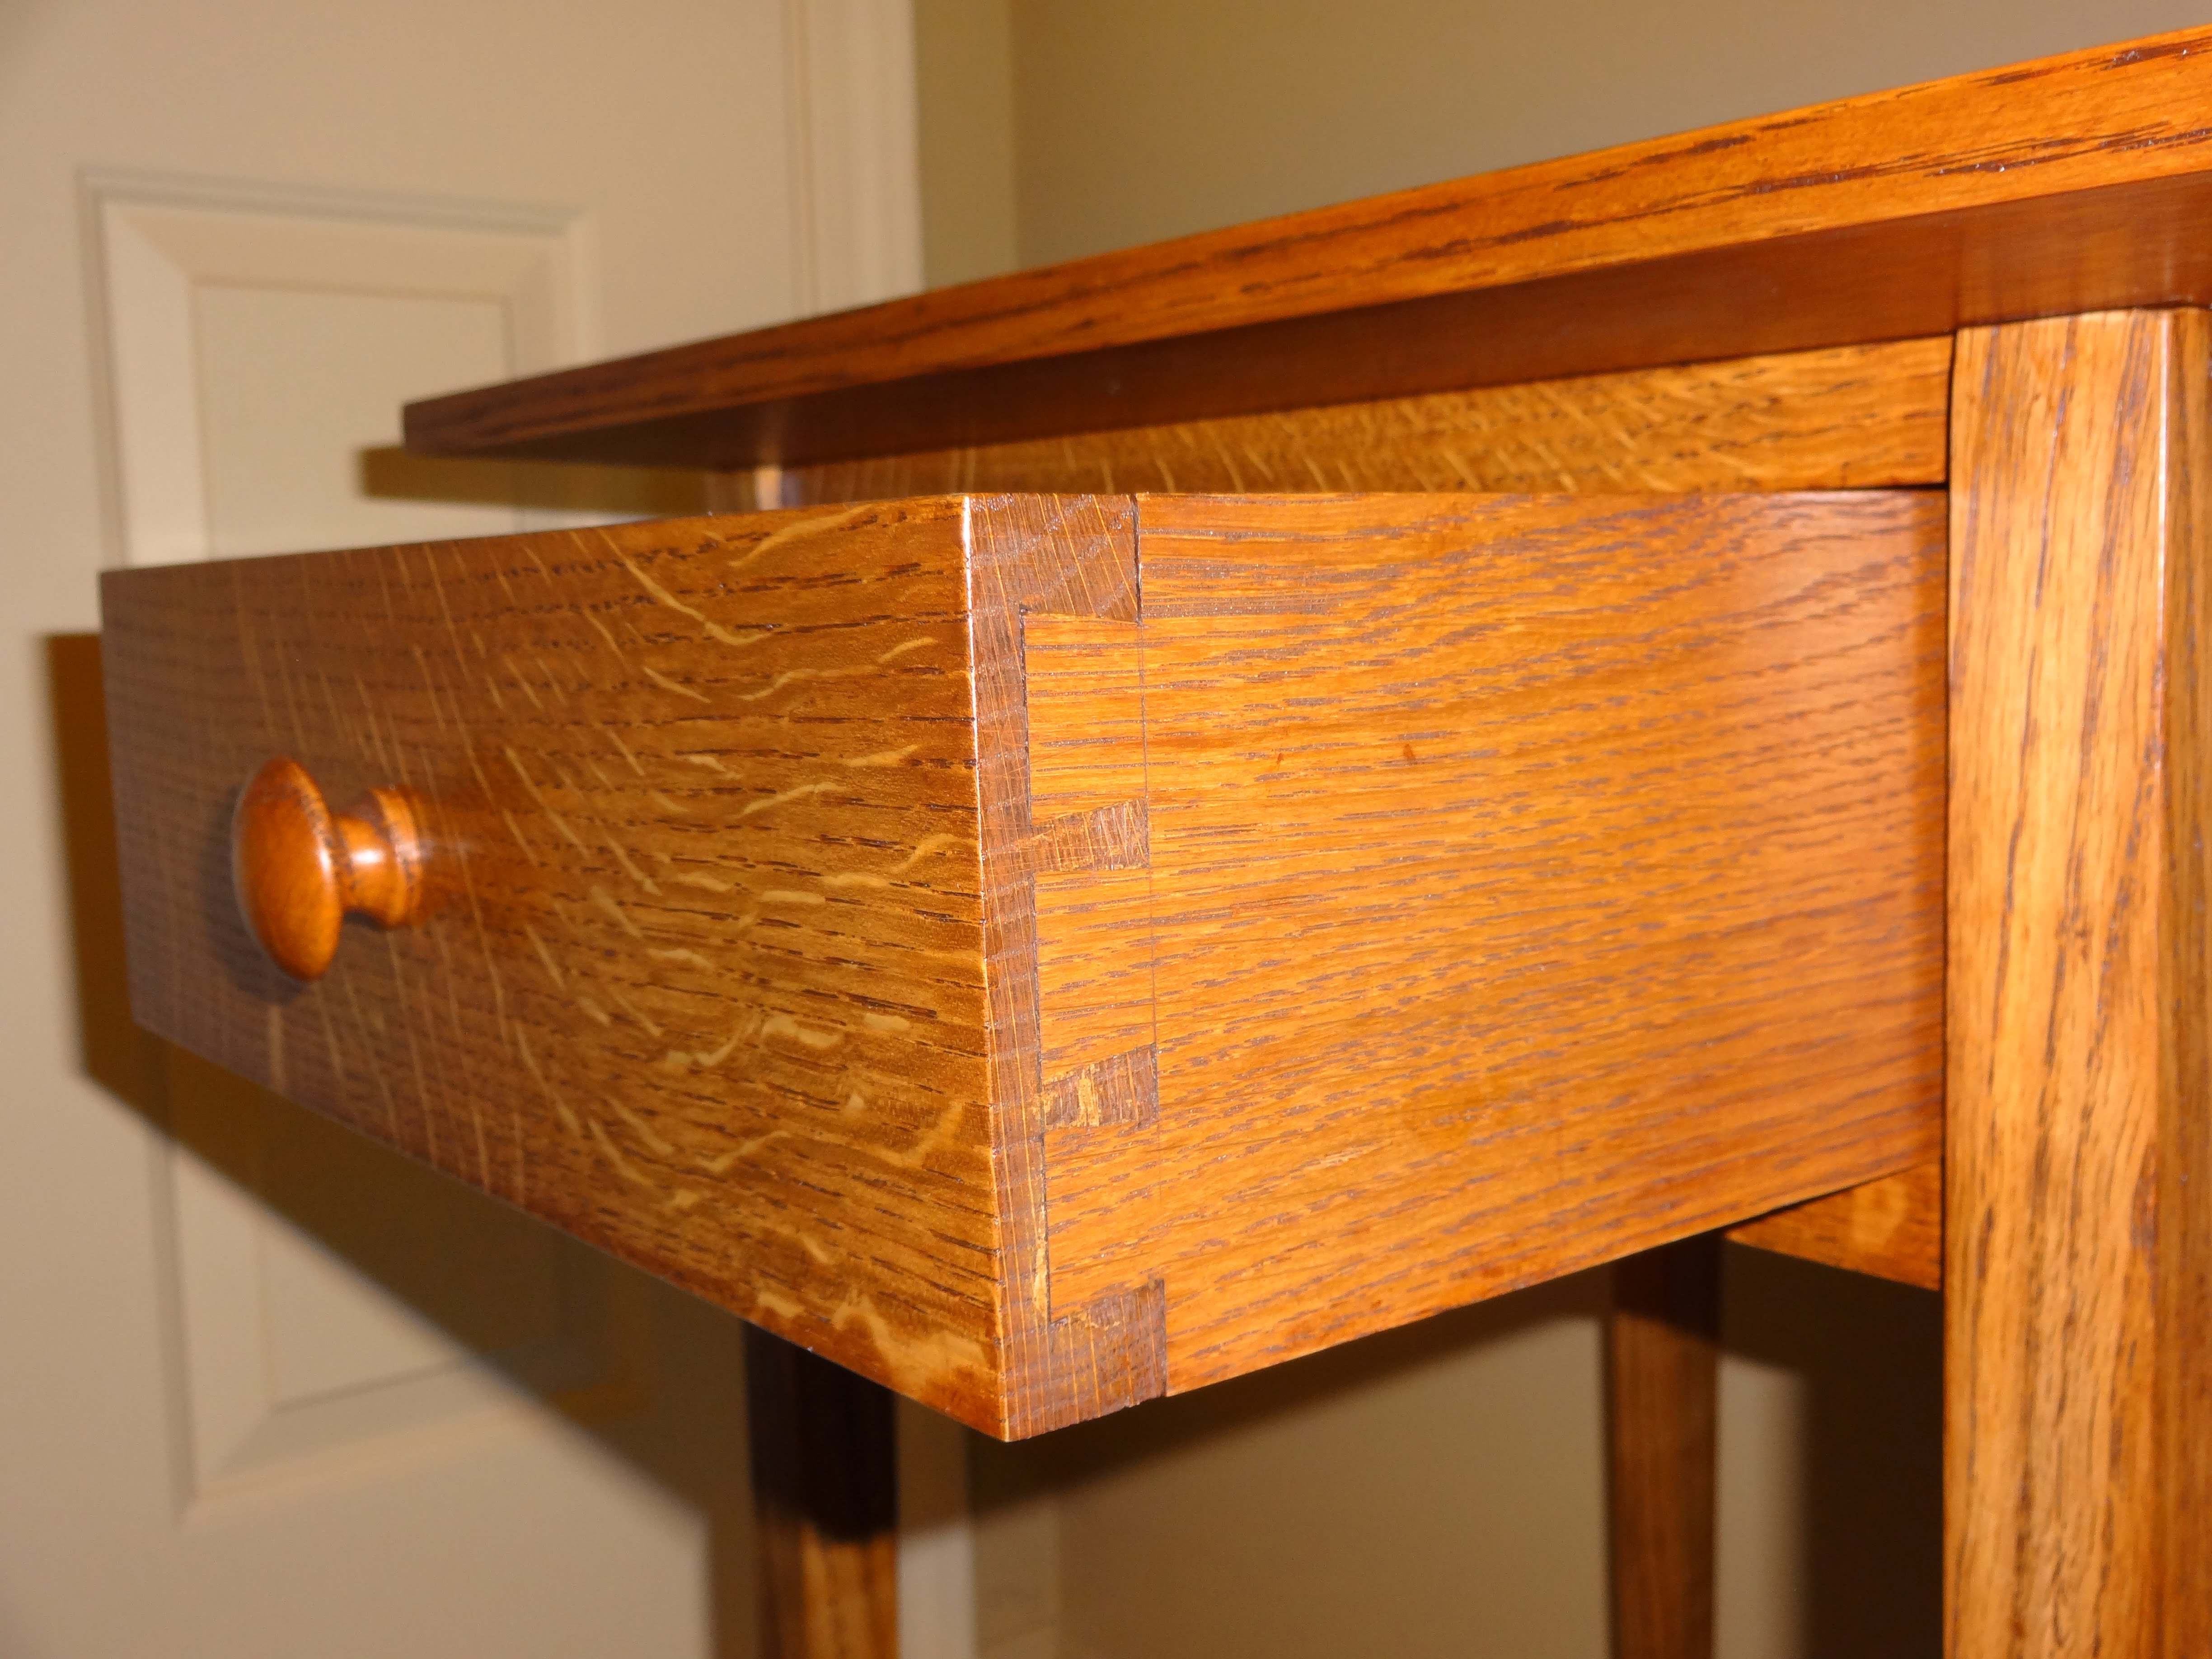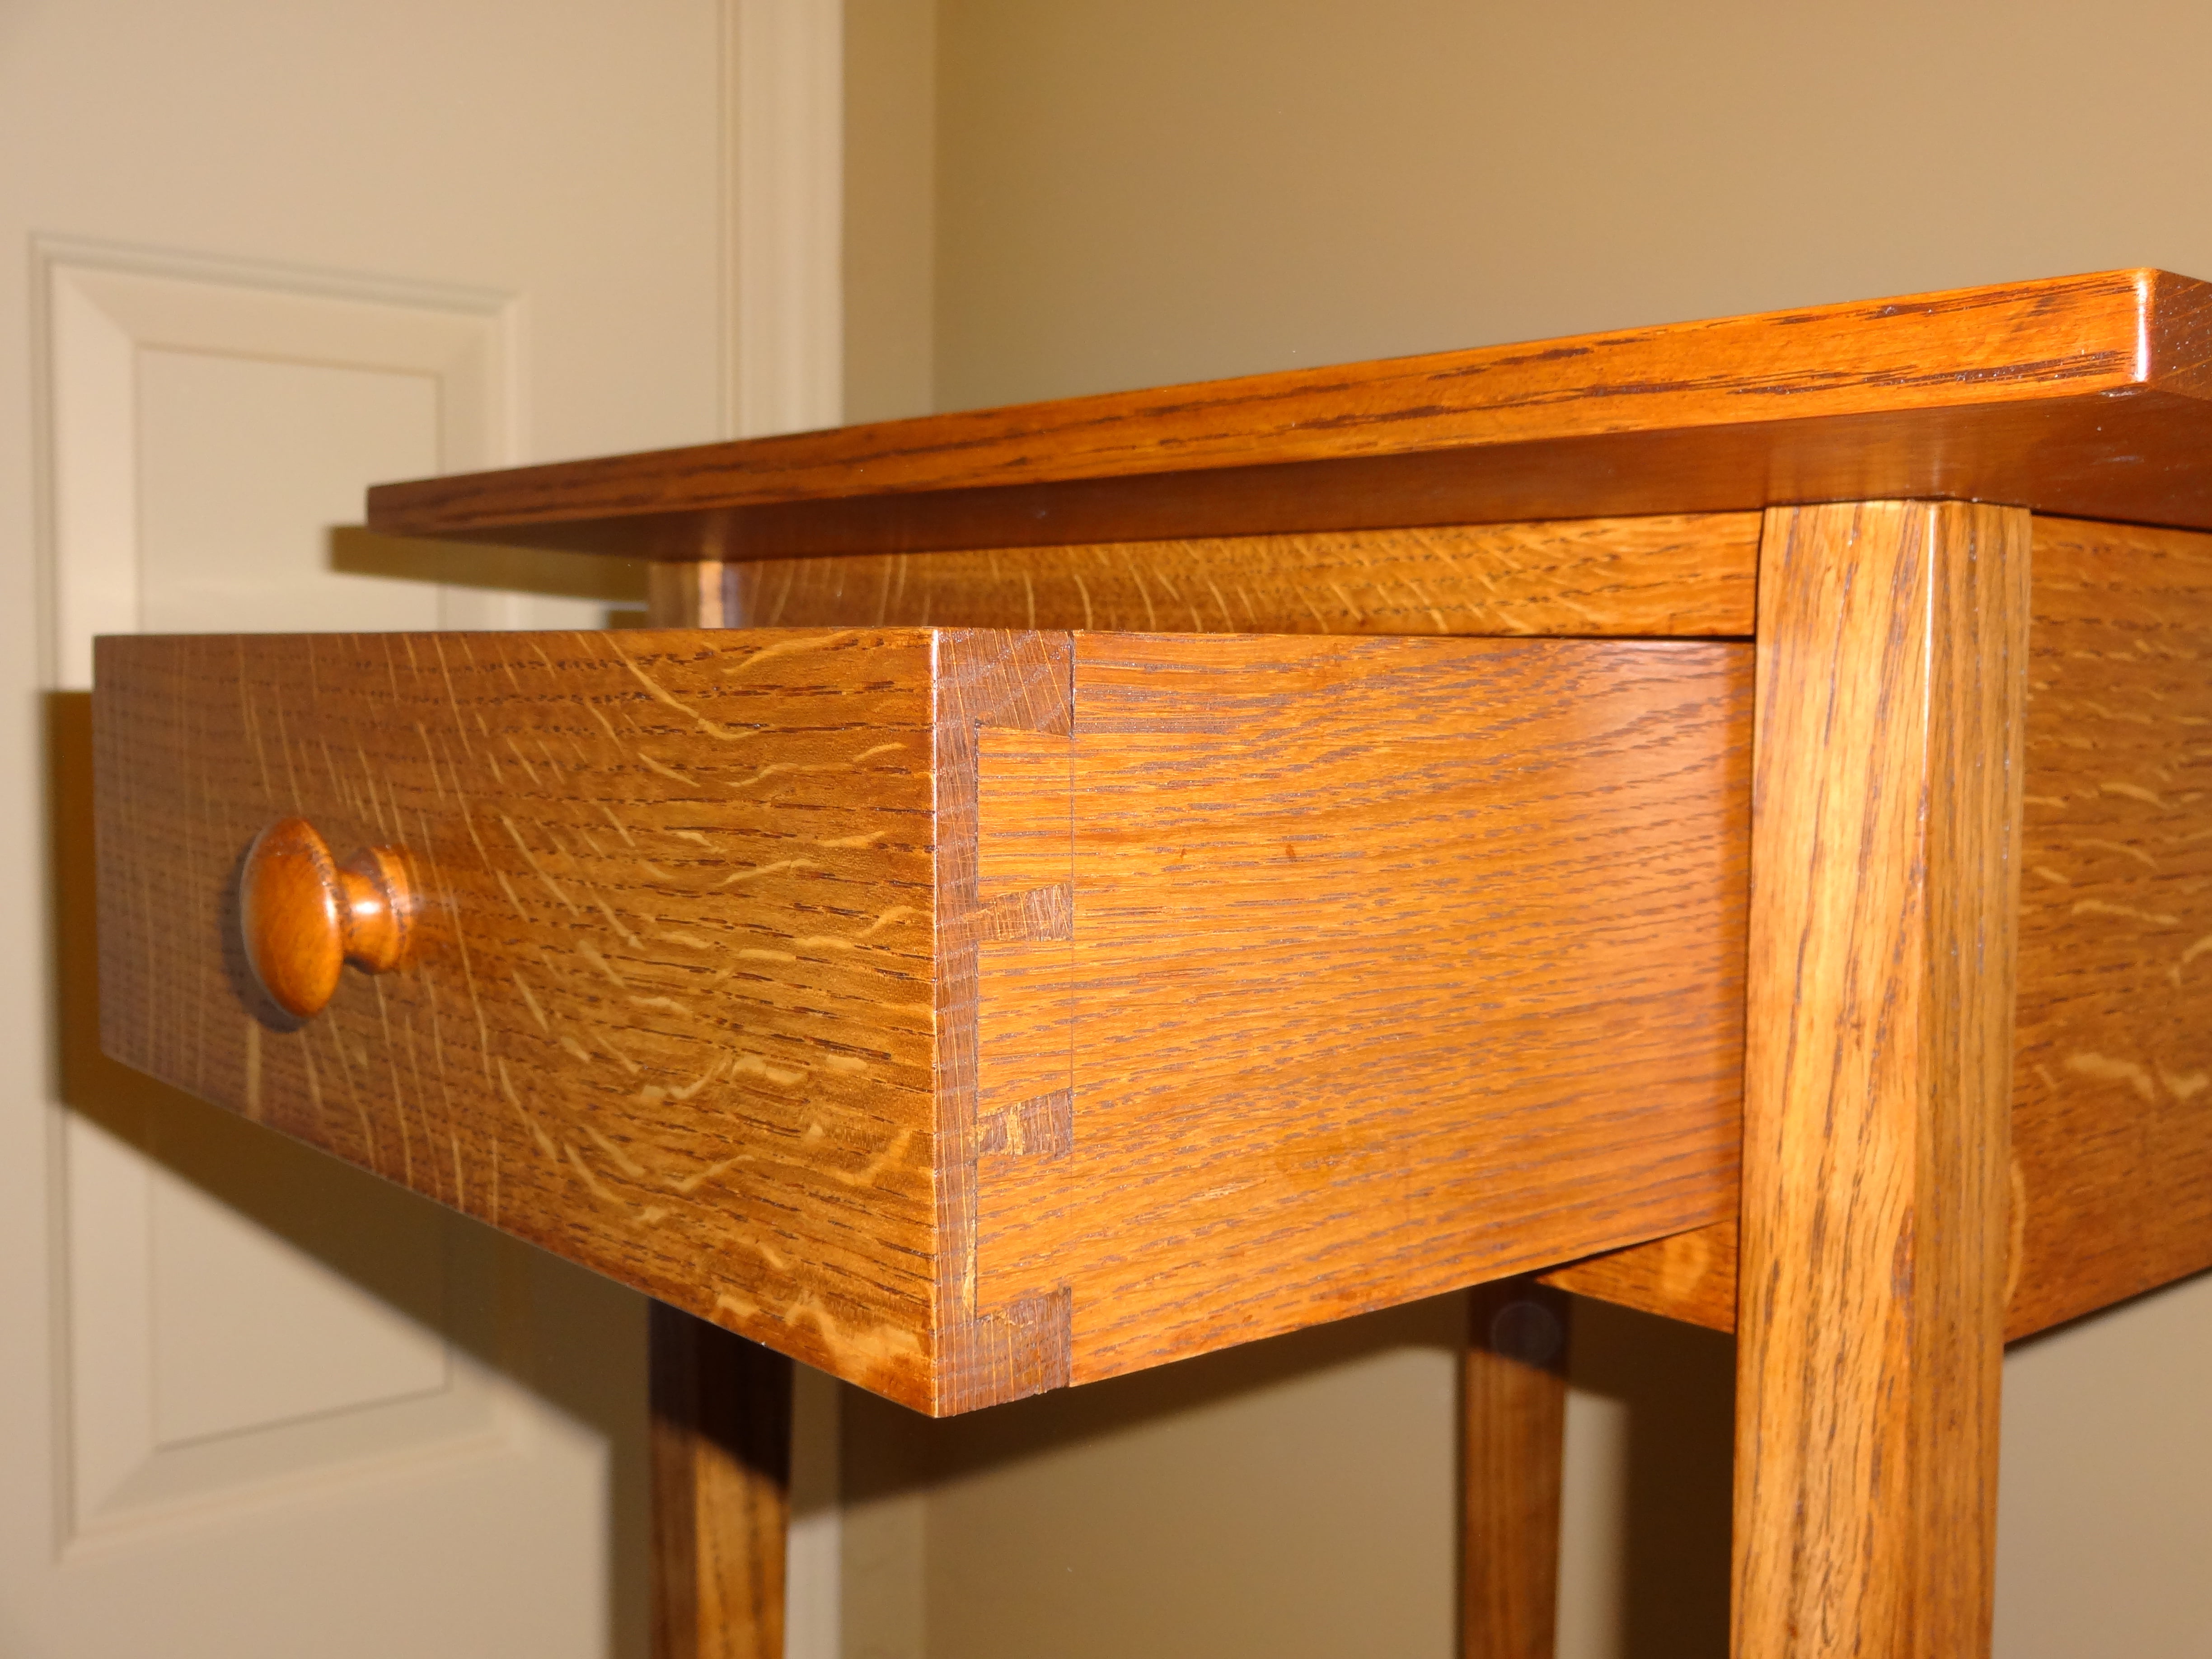
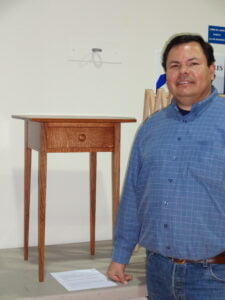
This is my first furniture project. The table is based on the Woodworking Magazine Autumn 2004 article, built using white oak (mostly quartersawn white oak). The drawer dovetails are my first attempt ever at hand-cut half-blind dovetails, and I got to say cutting dovetails on oak is hard work for my chisels! The mortise and tenon joinery were done using router table and table saw.
The finish is General Finishes Oil Based Gel Stain – Candlelite (two coats) and General Finishes Arm-R-Seal Varnish as the top coat (two coats to the whole table and two additional coats to the table top only, sanding in between coats). I used Bulls Eye Sealcoat Shellac Sealer inside the drawer.
I had a lot of fun working on this piece but I also learned a few things, or at least I learned to pay more attention to some details, for example:
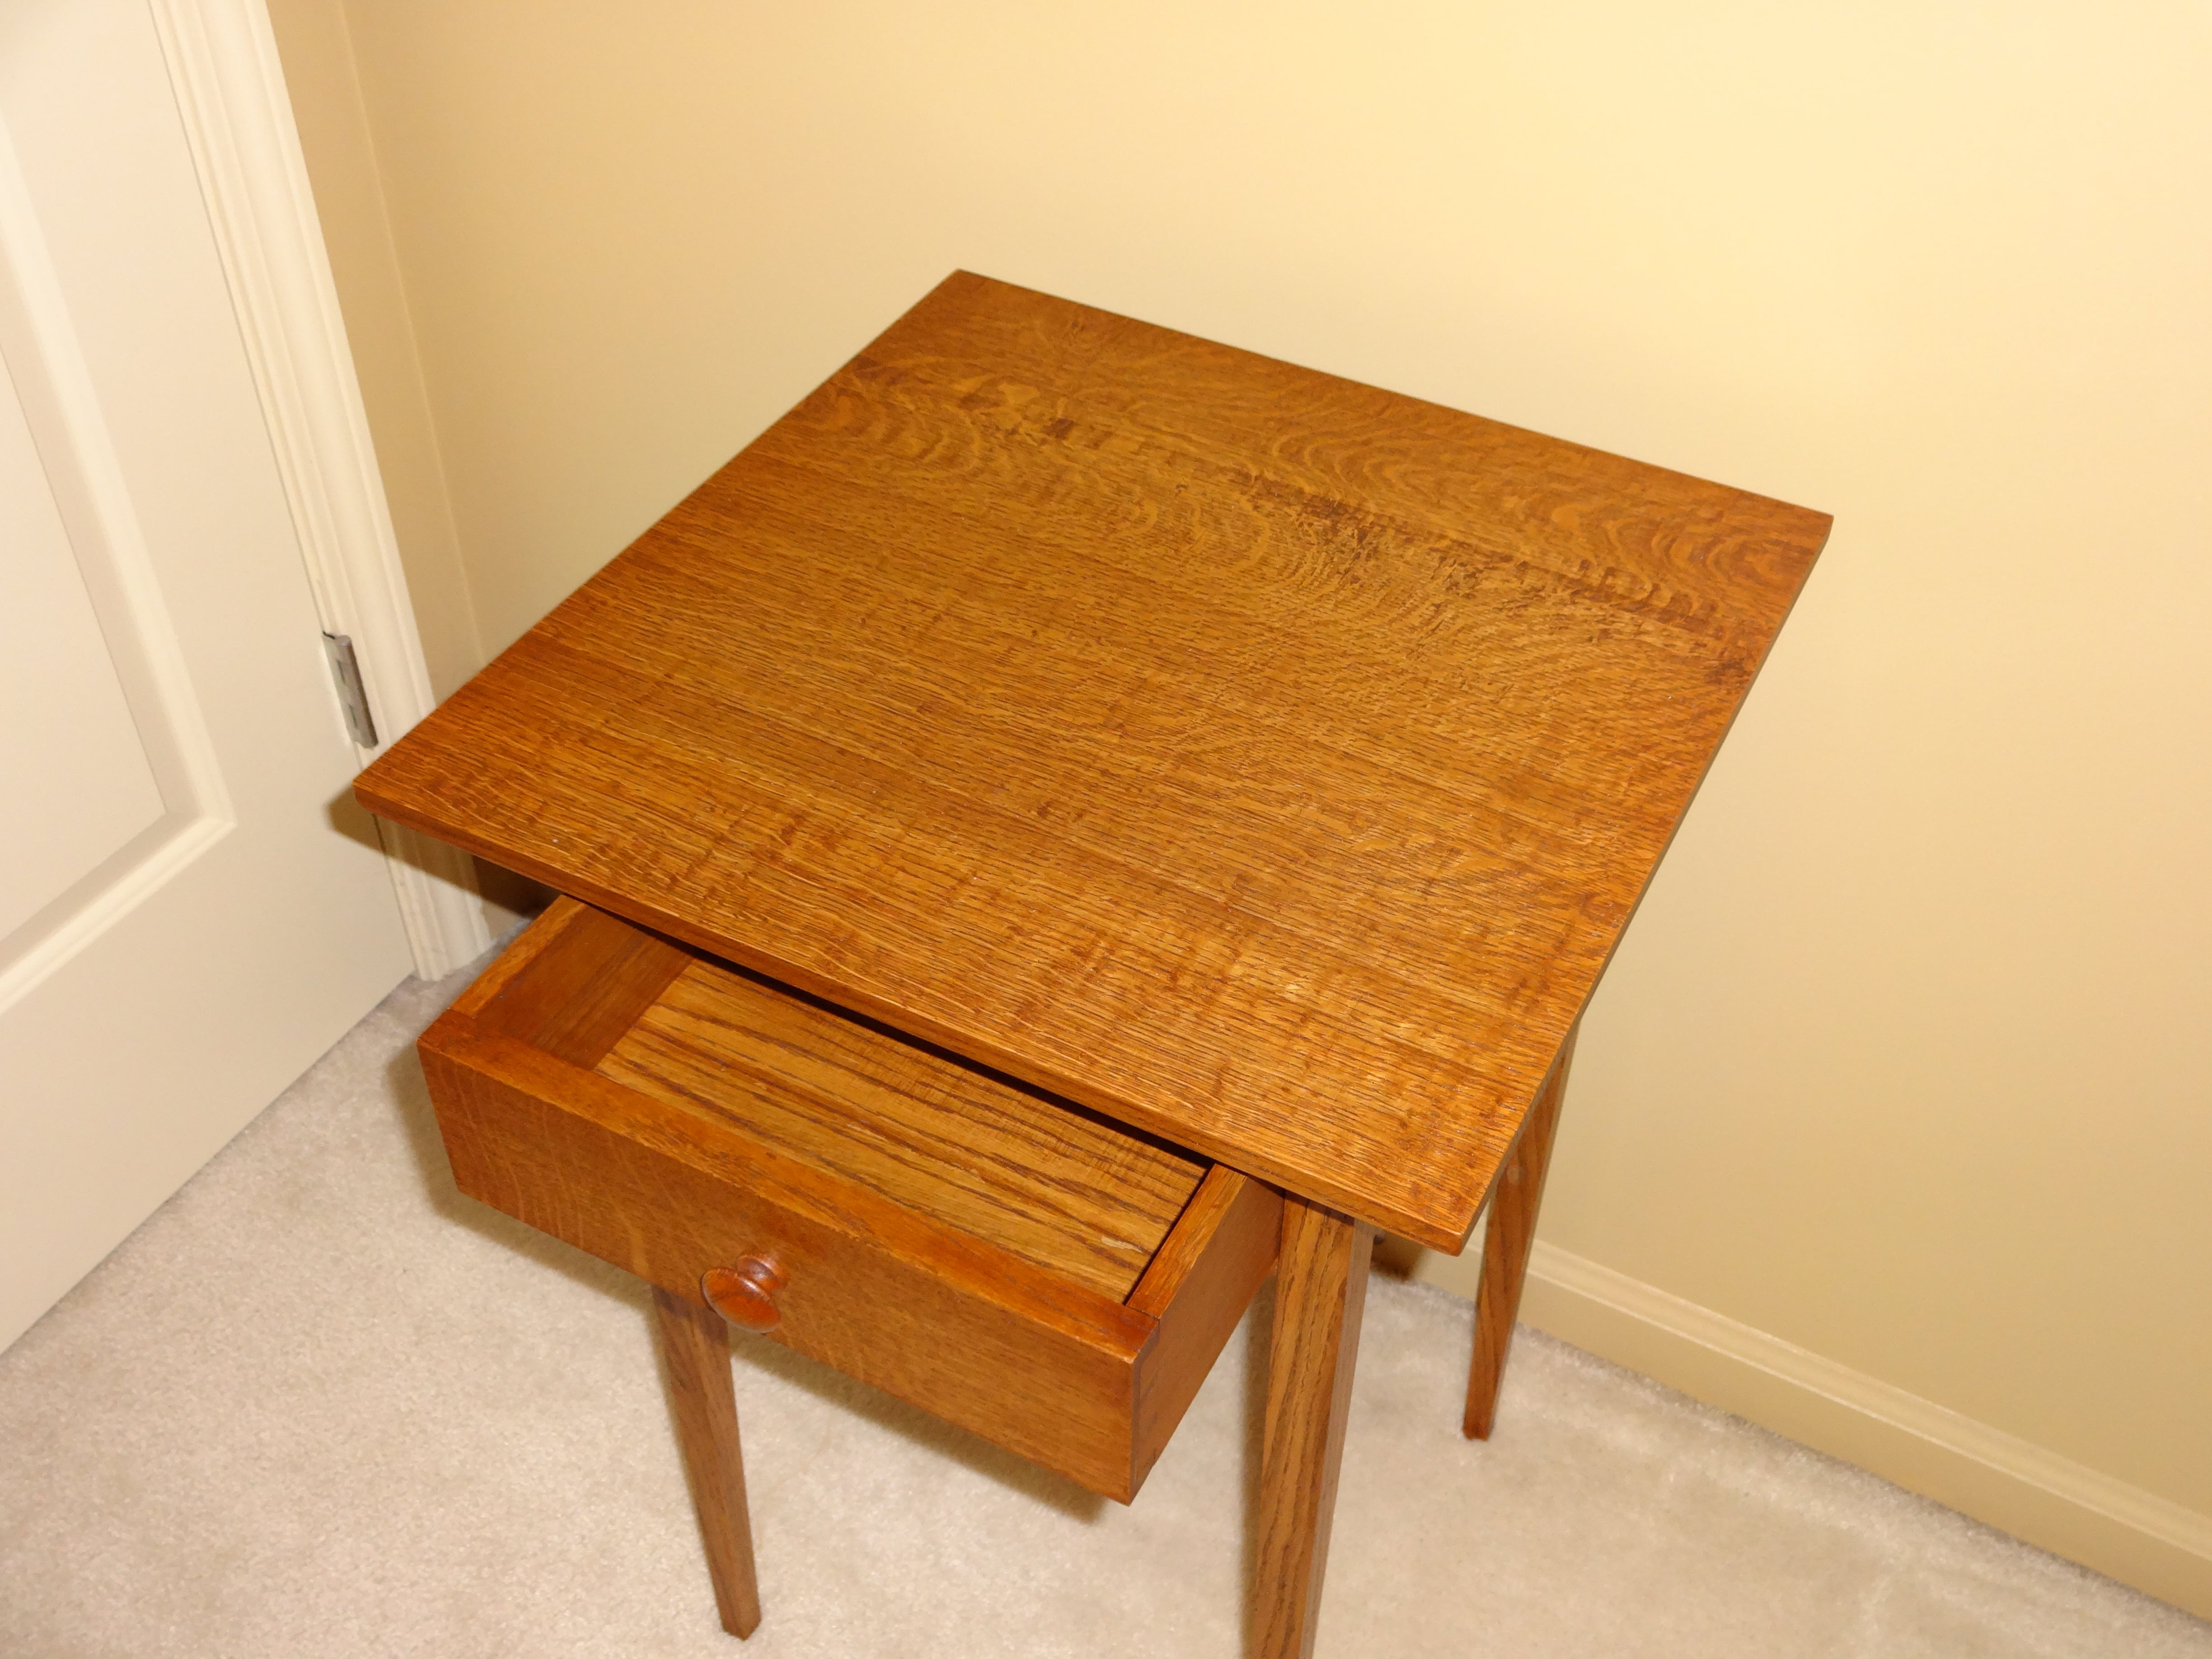
Grain direction when gluing up wide panels, the table top is three boards blued up together and I paid attention to place the boards in a way that they look good, at least to my eye, but I forgot to consider grain direction and I didn’t notice that until I tried to hand plane the panel after the glue up, then I noticed that two of the boards were oriented on the same direction but the third one was oriented on the opposite direction, that made it hard to plane at the intersection of the boards with opposite grain direction. You can see some tear out on the final piece.
Plan for all your pieces from the beginning, or at least make sure you always have some extra milled material you can use. At the end of my assembly I had a hard time coming up with enough material for the drawer runners and stops.
Be very careful with glue-ups, this was specially true with my dovetails, I made the mistake of placing clamps right on top of the joint so I didn’t have an opportunity to clean up glue squeeze out before the glue hardened, you can still see some of the glue squeeze out even after I tried to cleanup as much as possible before finishing.
Keep better track of the orientation of each one of your parts at all times, this specially true if you want your piece to follow grain continuity. For example on my table, I wanted to have all my aprons and the drawer front to be on the same grain sequence so I cut them out of the same long board, on the final piece they ended up being on the right place were they were supposed to be, but some of them are inside out. After some of the milling, hand planning and sanding, I lost my marks.
Leave yourself some “wiggle” room after milling your lumber, in my case the back apron is thinner then the rest of the aprons/drawer front because after running it through my jointer/planner it warped and I had to make it thinner than the others.